Generating Local Checks
How to print checks:
- From the Agency Fee & Services tab click the Generate Check(s) button. You do not need to pre-select the items.
- A pop-up screen will appear listing Vendors and Service Items that are eligible for Check payments. See below “Generate Check(s) Rules” for eligibility.
- By default, all eligible items are selected. Please unselect all Service Items that you do not want included on your checks.
- The Pay Amount column defaults to the unpaid balances of the Service Items, you may adjust the Pay Amounts to be less than the unpaid balances if you are not paying the full estimate.
- Select the correct Check Book. Most offices will have multiple Check Books (Port Check and CTM Check), please be sure to choose correctly.
- Select the correct Payee Name. Some Vendors will have Multiple Payee Names, please be sure to choose the correct Payee Name. Example: Vendor 12468 – Cash to Master will show many Payee Names.
- Carefully review your selections then click Generate Check. This will post the checks and they WILL NOT be editable after posting.
- When the print dialog appears choose the Check Printer and click Print.
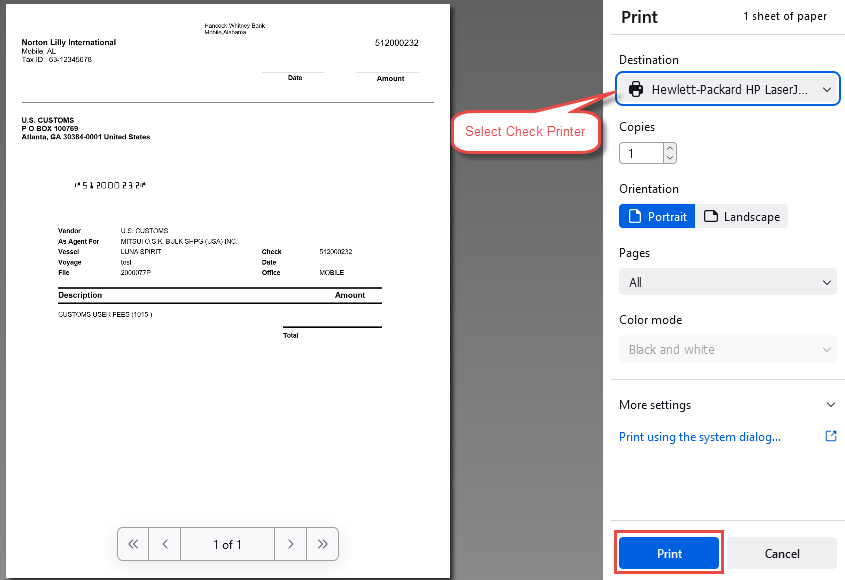
- The Check(s) will be sent to your local check printer.